Overview
Templates are pre-configured inspection forms that save time and ensure consistency.
Step-by-Step Guide
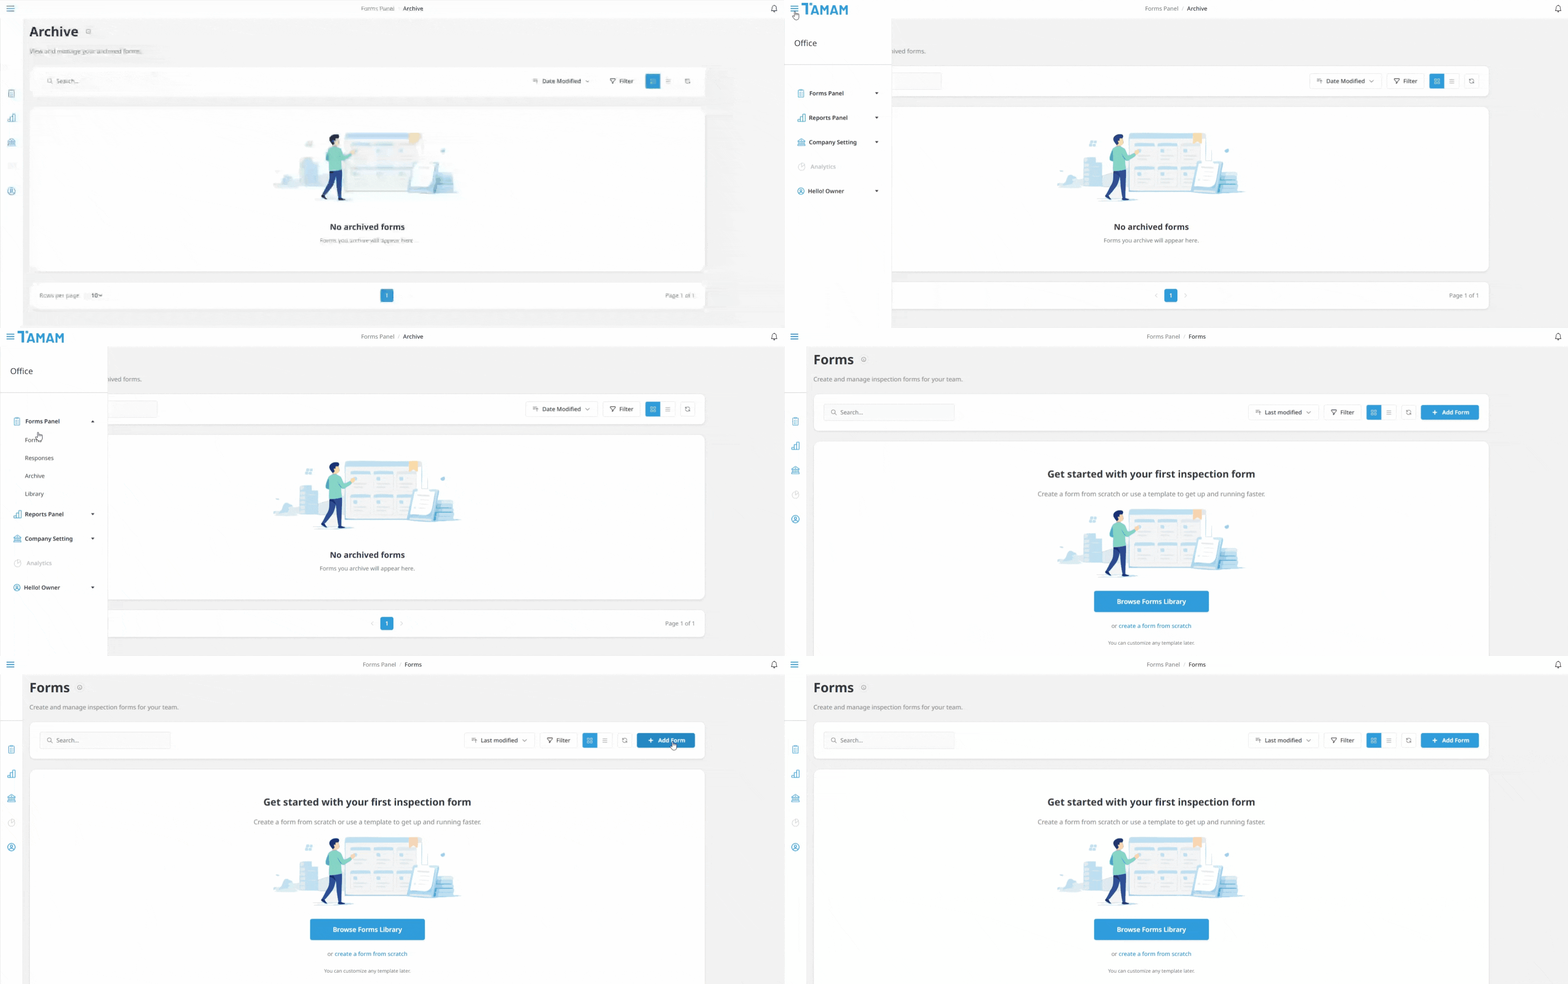
Start Creating a New Form
To start creating a new form, open the Forms Dashboard from the side menu, then navigate to the Forms tab. After that, click the Create Form button located at the top of the Forms page.
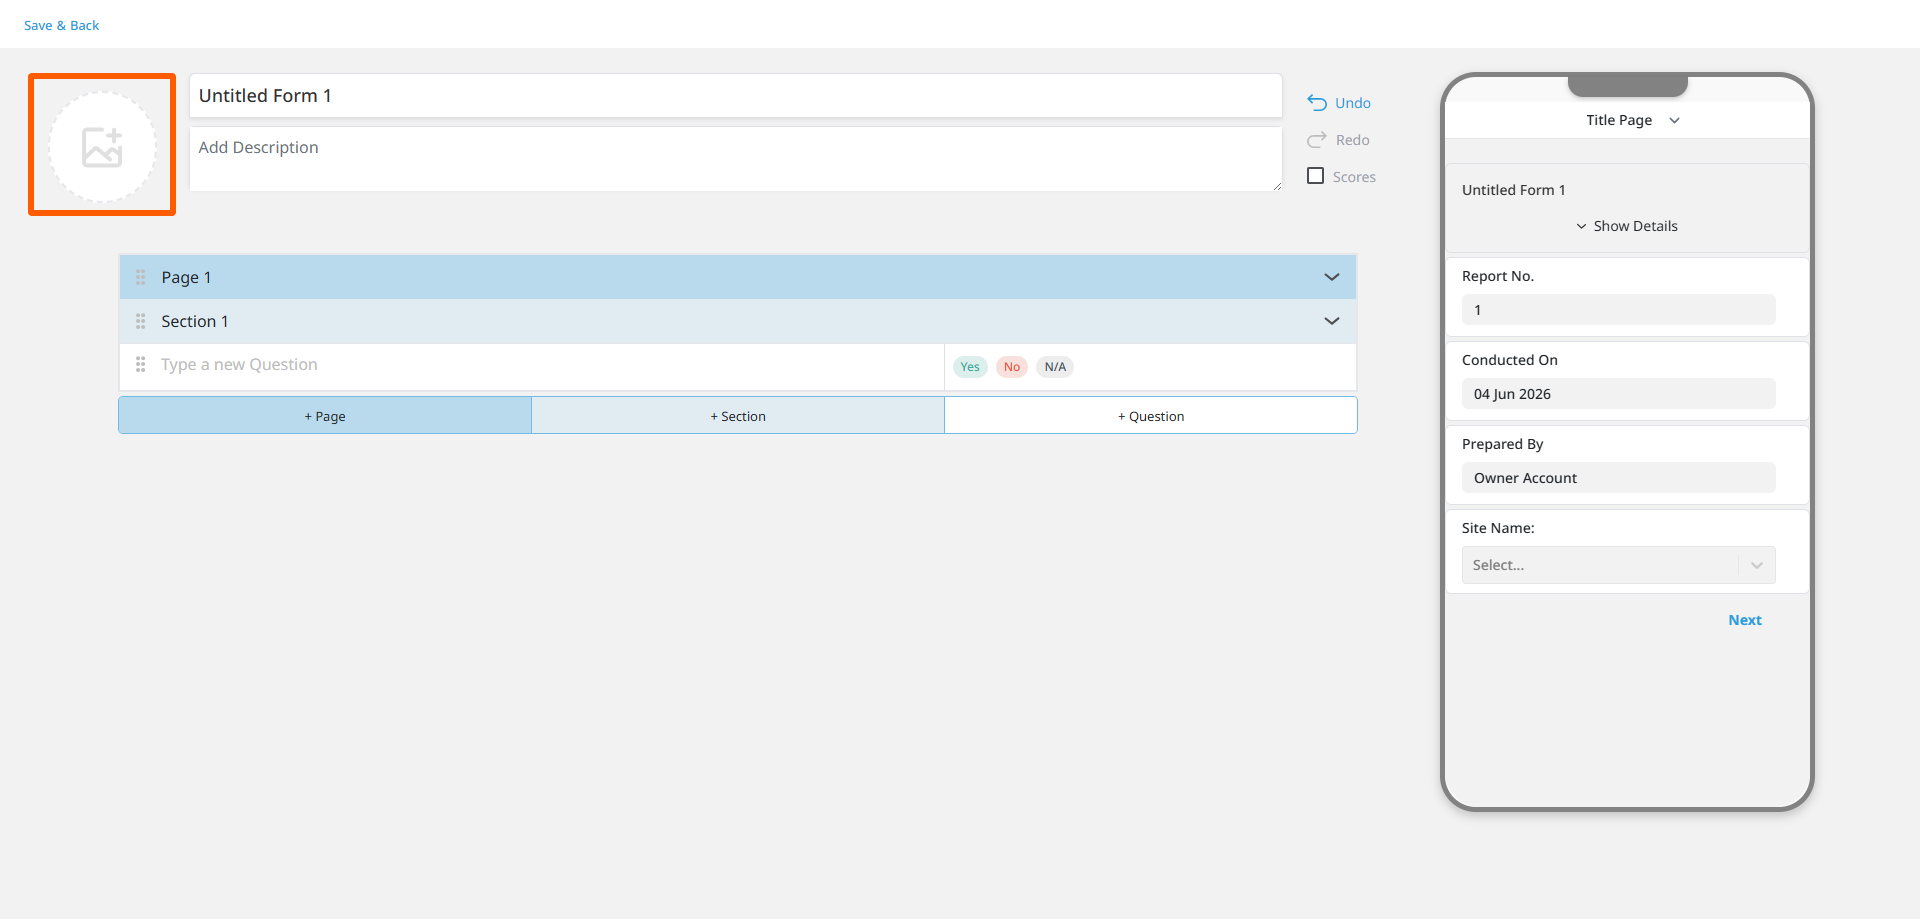
Form Avatar
You can add an icon for each form to make it easier to recognize and access quickly. This helps your organization's users visually distinguish forms and easily find the required form within the organization's forms list.
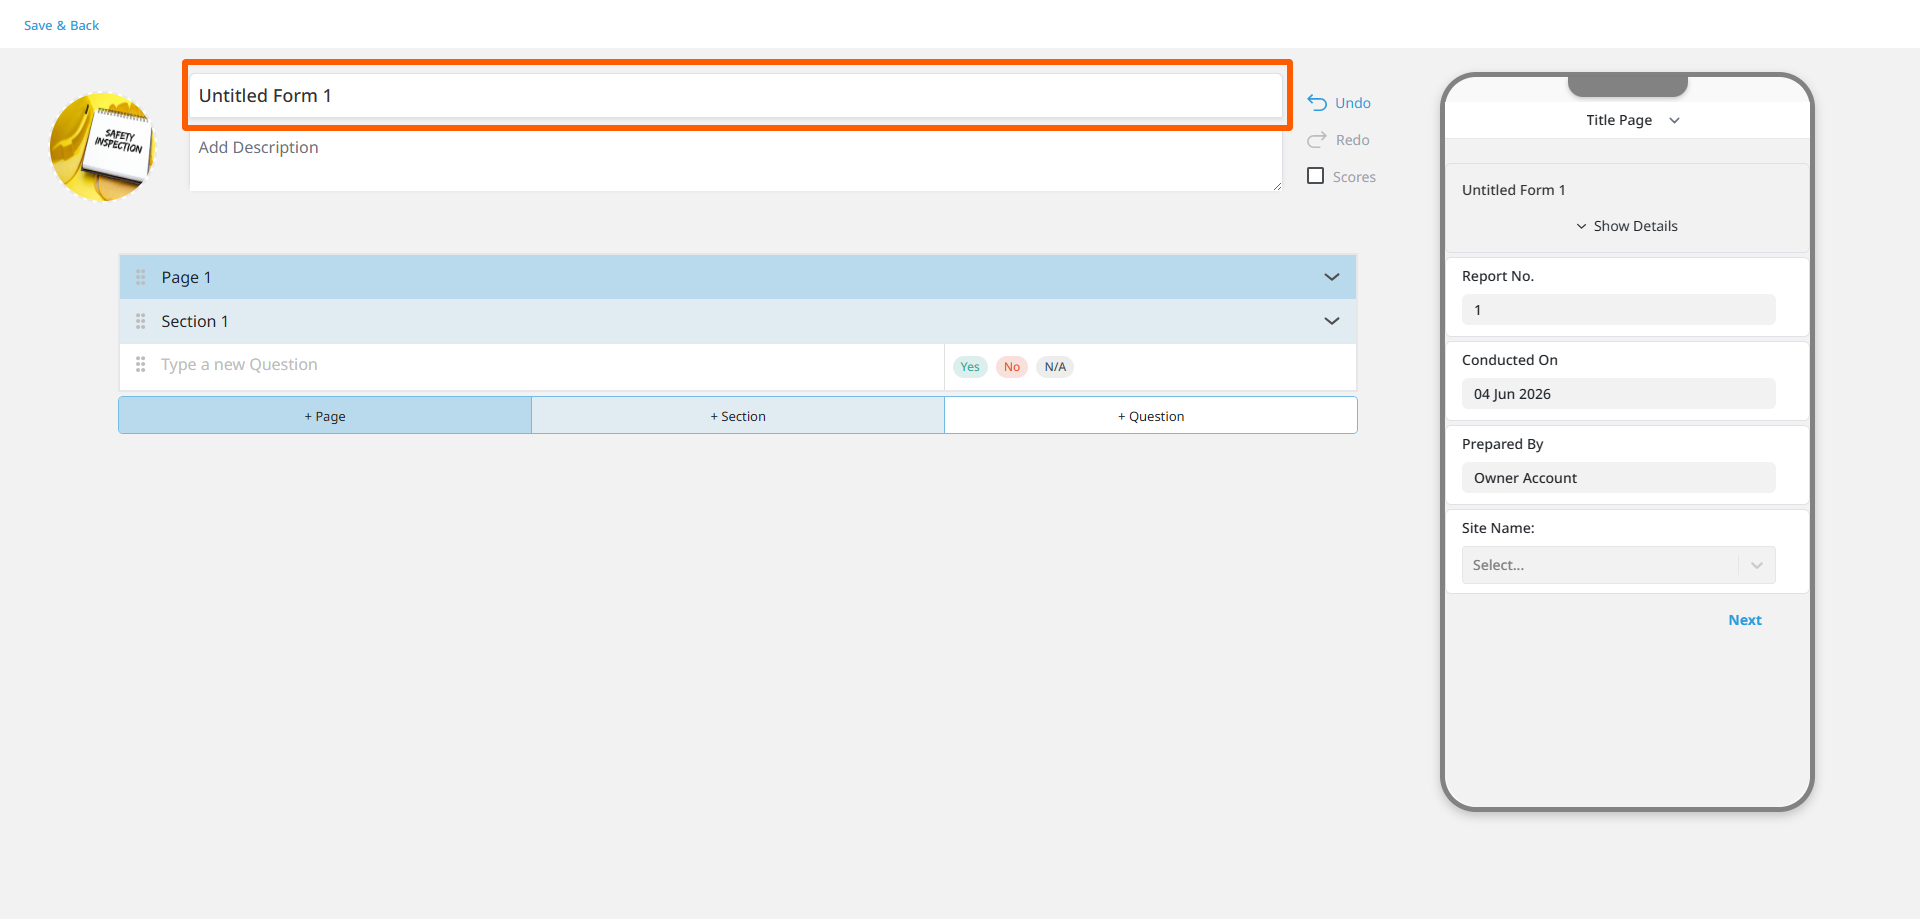
Form Name Field
The system automatically creates the form name field with a default name such as "Untitled Form 1" to make it easier for users to start creating forms when they do not have a predefined name. Users can rename the form at any time, and editing begins immediately as soon as they start typing in the name field.
Form Description Field
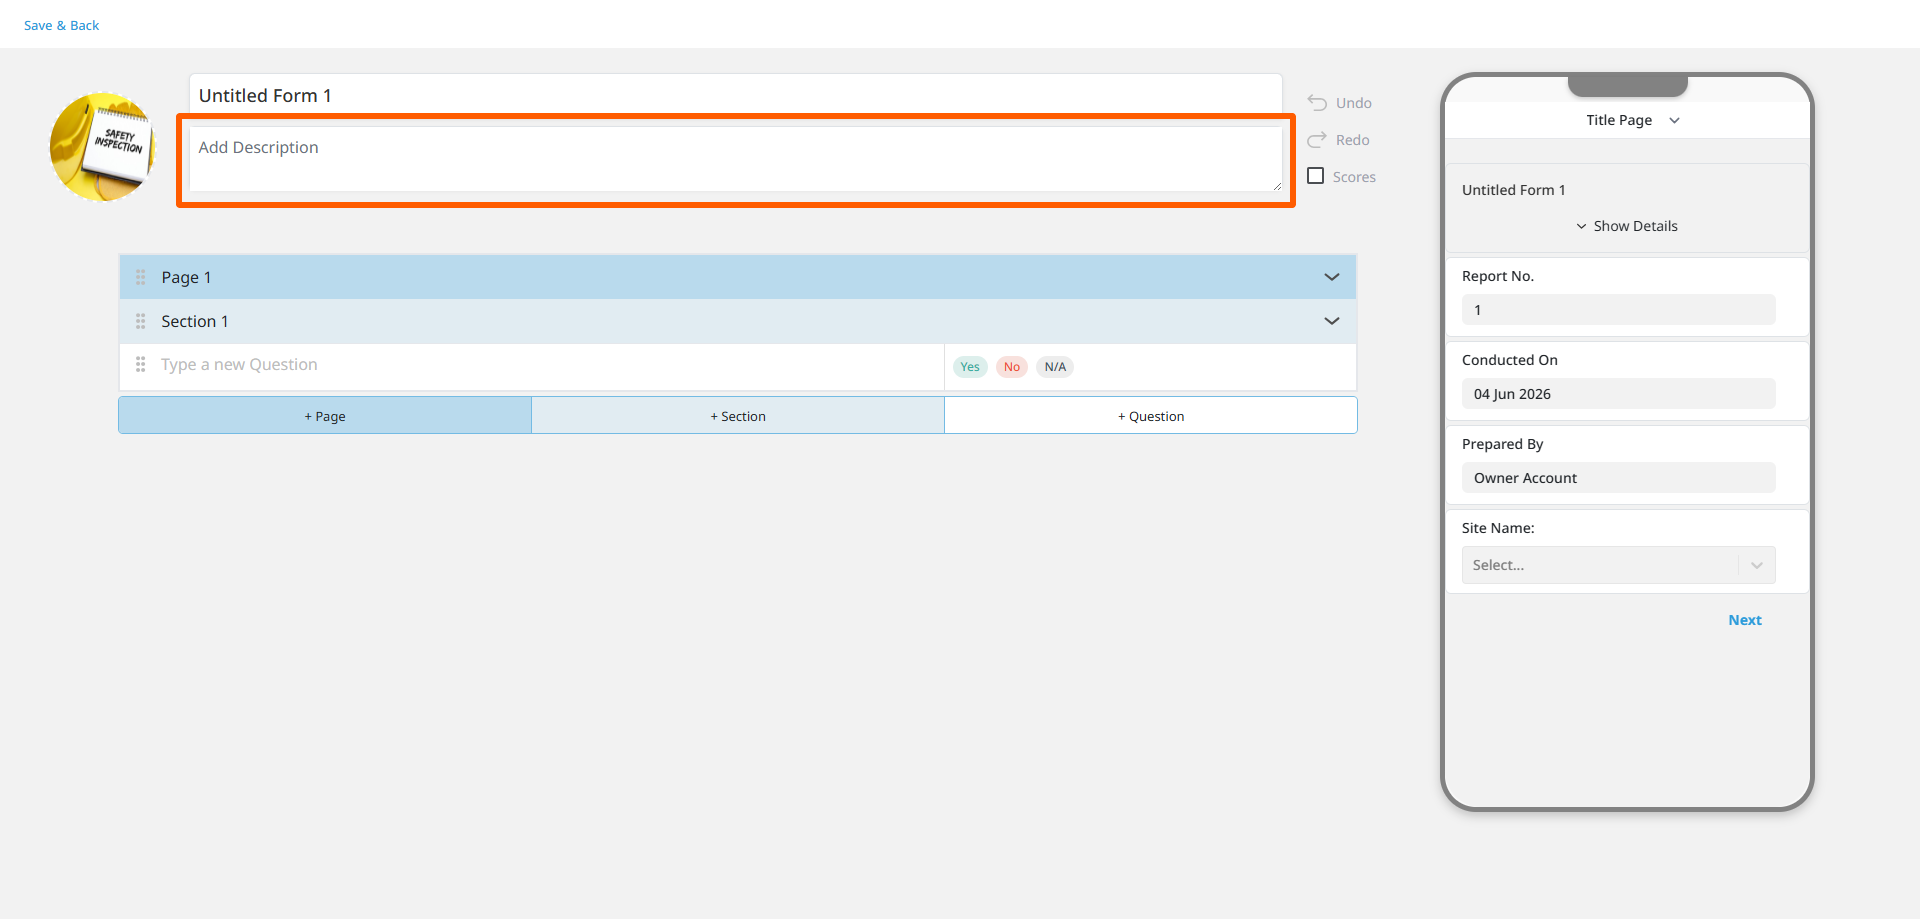
Enter a short description for the form that will be displayed to users. This helps them understand the form’s purpose and content without needing to preview it, making it easier to find and access the desired form quickly.
Form Pages
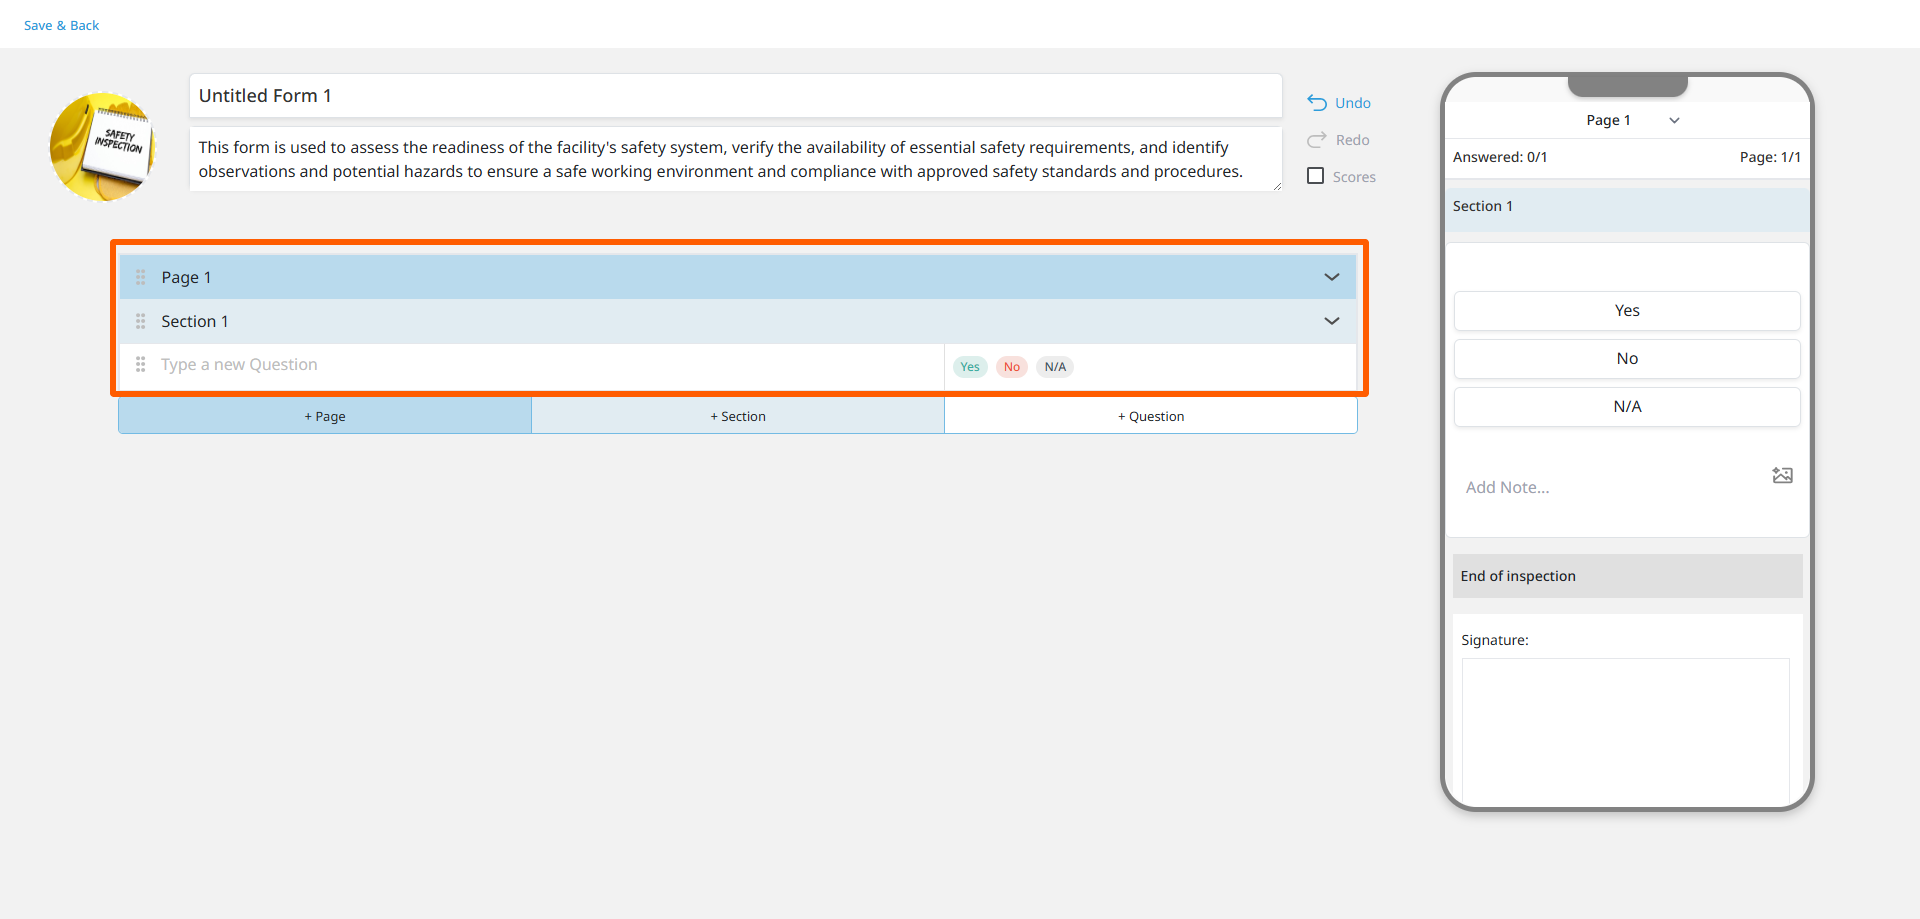
A form consists of a single page by default, with the option to add multiple pages as needed. Each page contains one or more sections, and additional sections can be added to better organize the content. Each section includes a set of questions, allowing the organization to structure and organize the form in a way that aligns with its business requirements and inspection or assessment procedures.
Page Name and Section Name
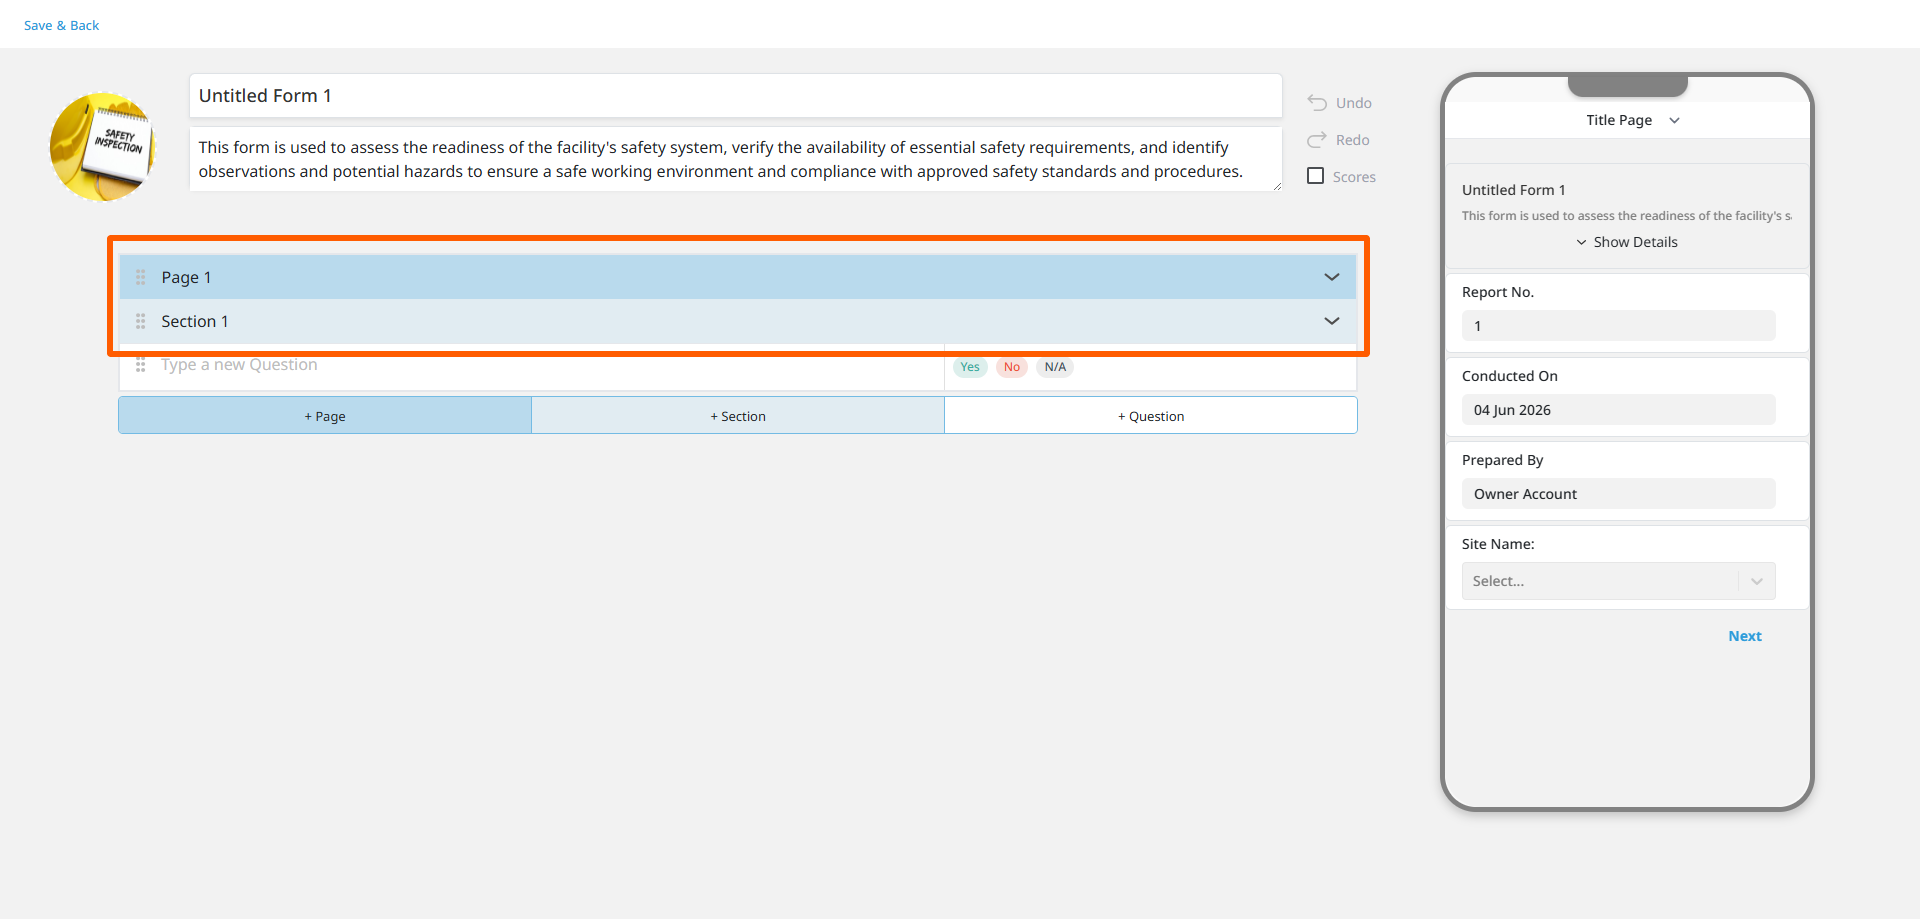
To make it easier to create professional forms, the system automatically assigns sequential names to pages and sections. You can rename them at any time by manually entering your preferred name.
Add Questions
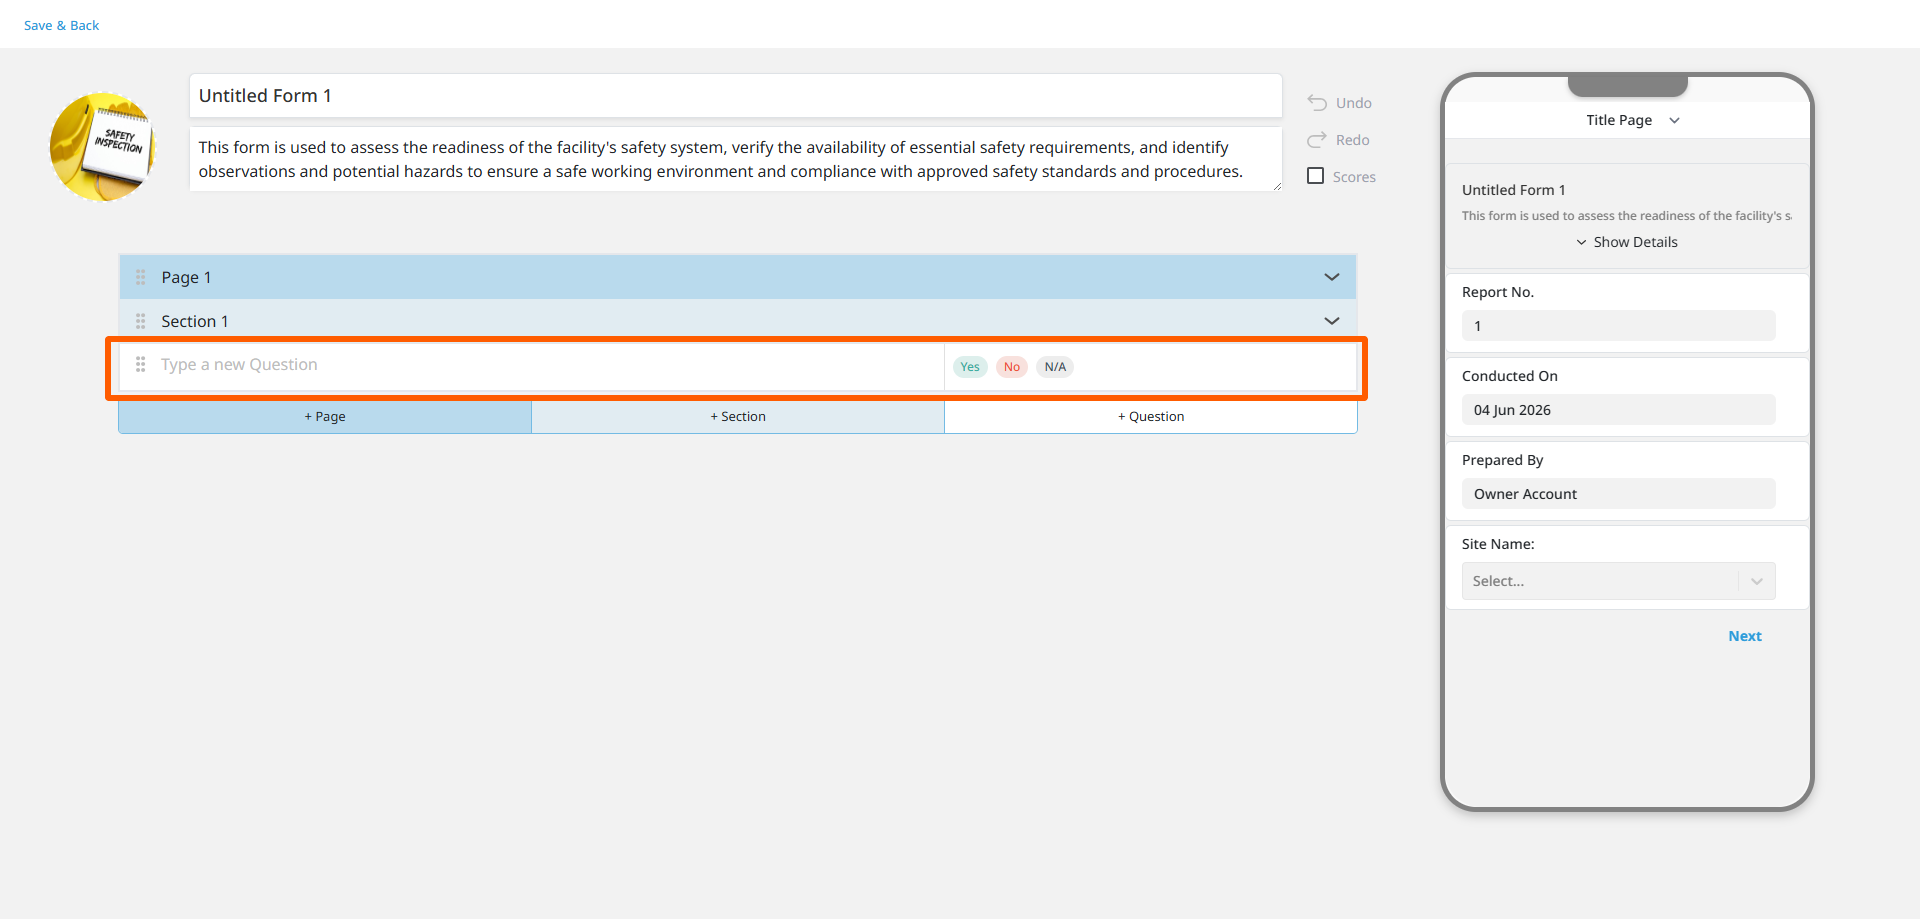
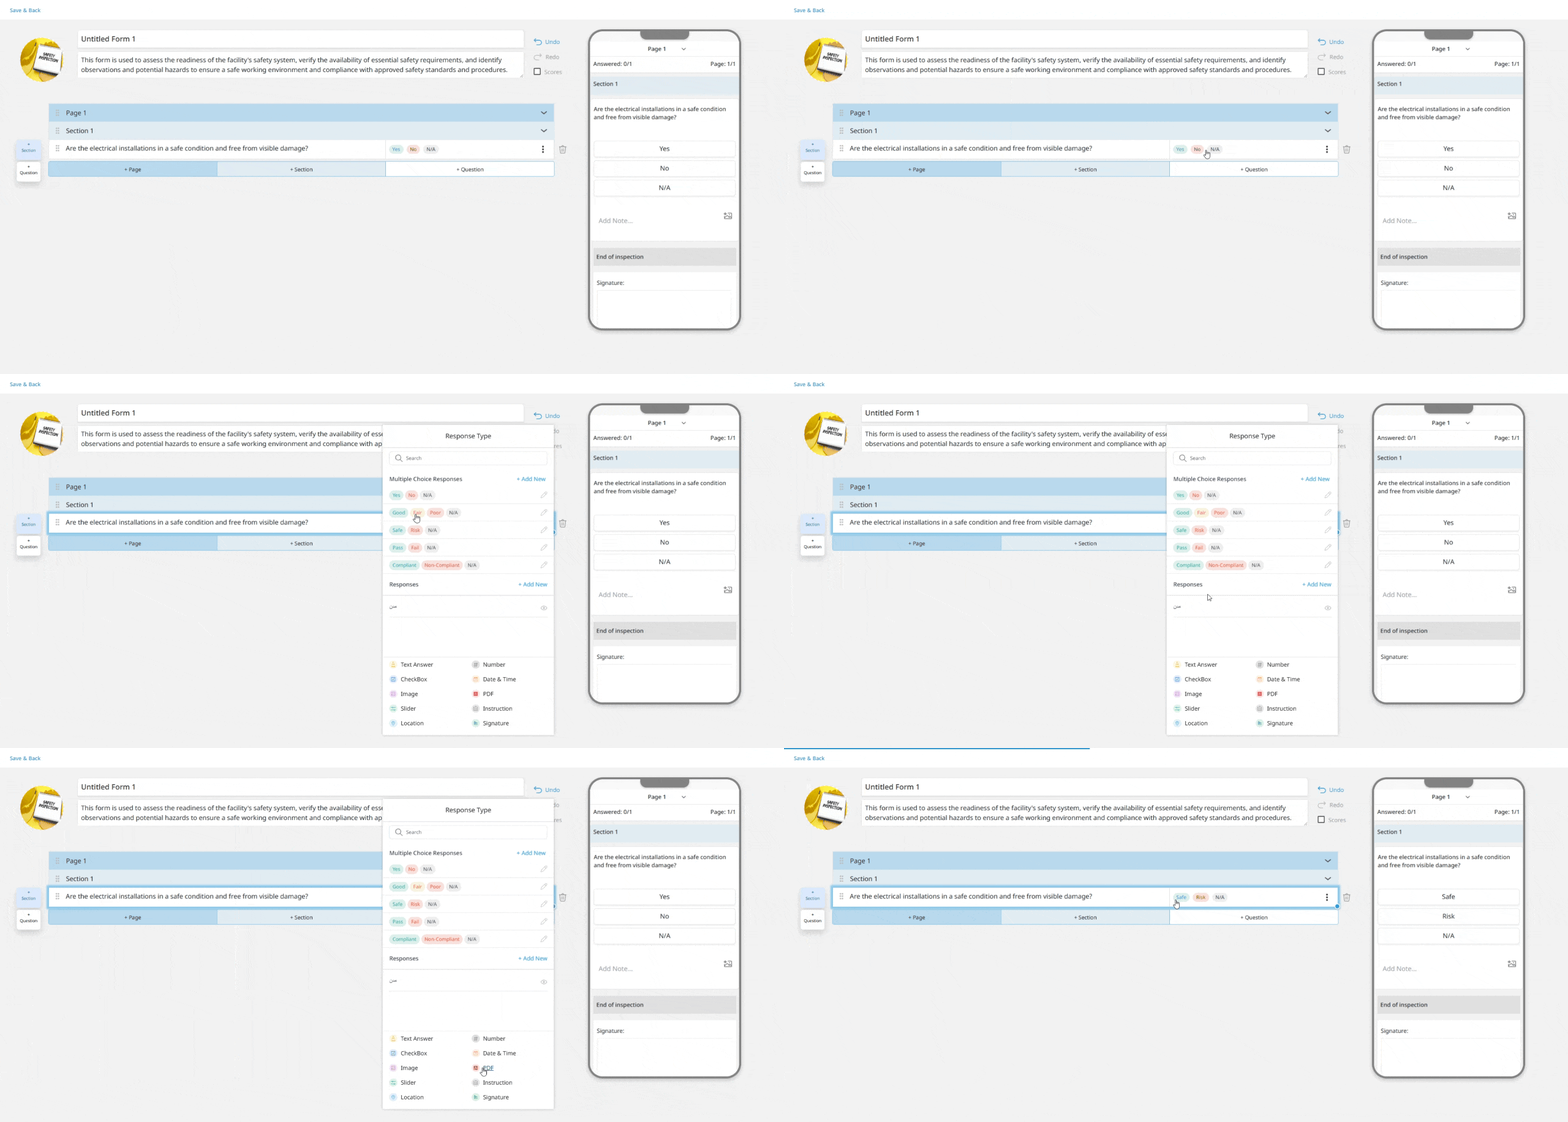
Enter the questions in their designated fields. You can select the answer type for each question by clicking the answer field. A window will appear displaying a variety of available answer types. Click the appropriate type to select it.
Select an answer for the question
In the question row, a default answer will be displayed representing the last answer selected while editing this form. You can change the answer by clicking on it. A dialog will then appear containing multiple answer types, and you can select the desired answer by clicking on it.
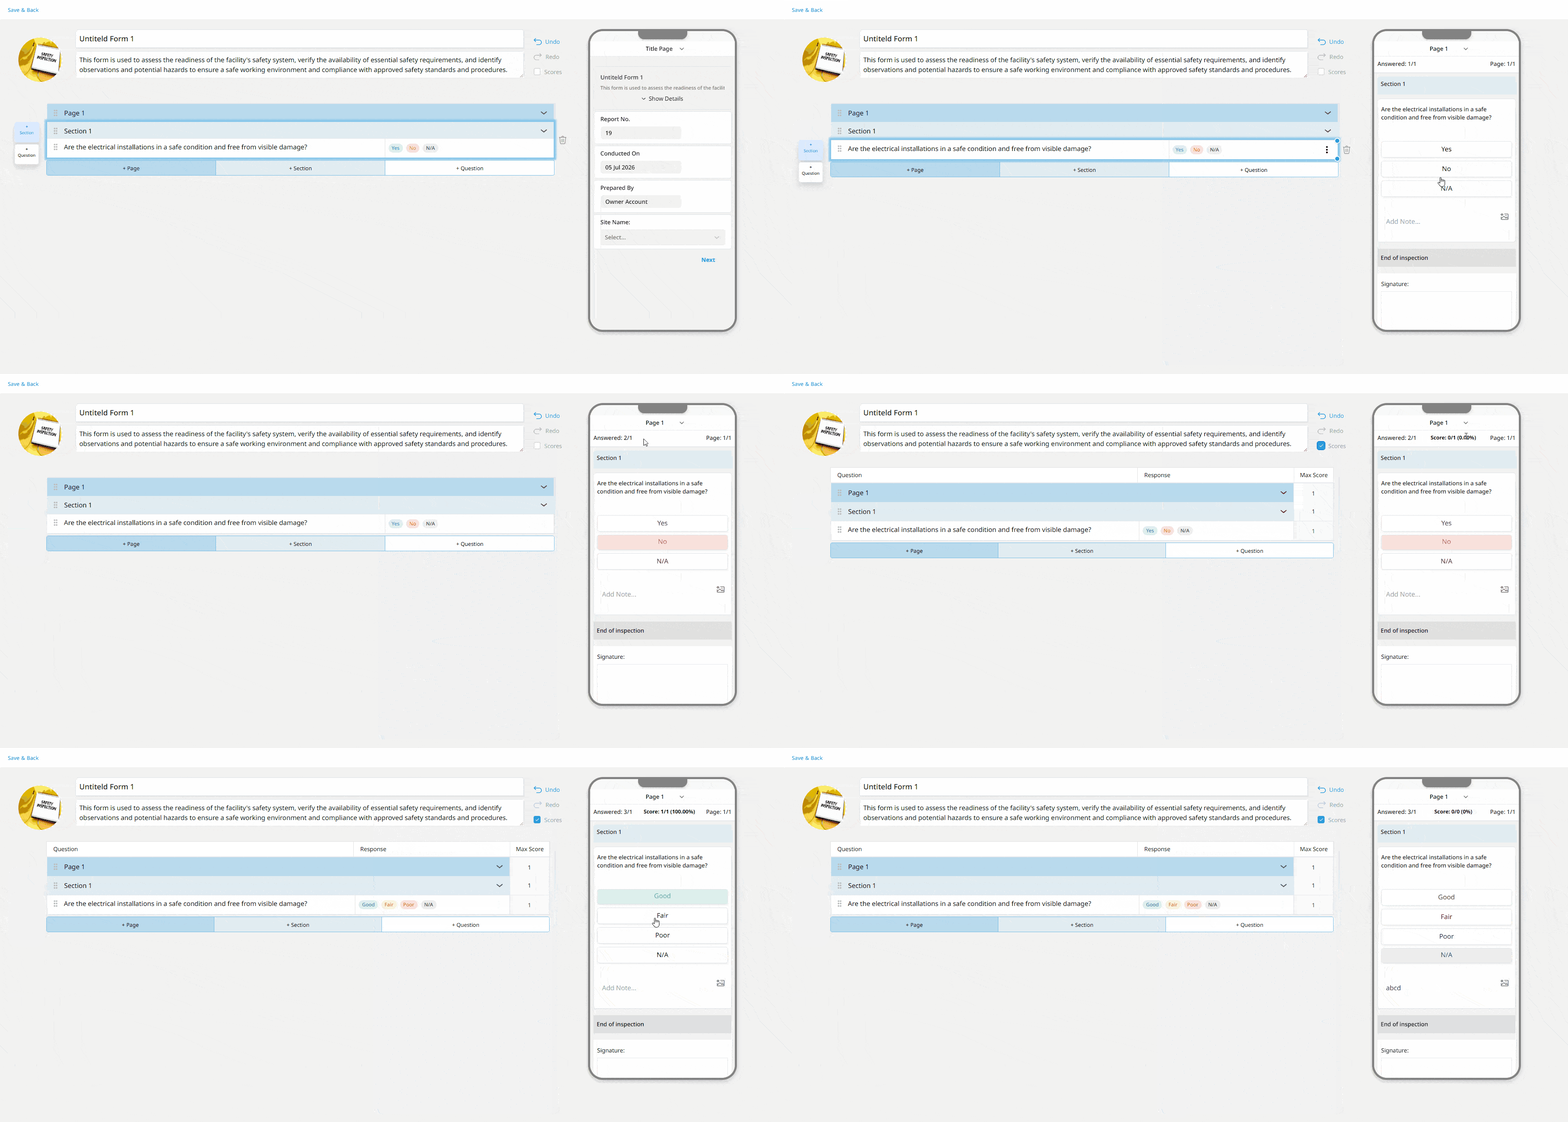
Form Preview
During form creation, the system provides an interactive form preview that allows you to see exactly how the form will appear to users during the inspection process. Clicking any question in the Form Editor automatically previews that question, enabling you to test responses, add text notes, and attach various media files to verify the user experience before publishing the form.